Showing posts with label crafts. Show all posts

Tuesday, May 15, 2012

Furniture Botox!

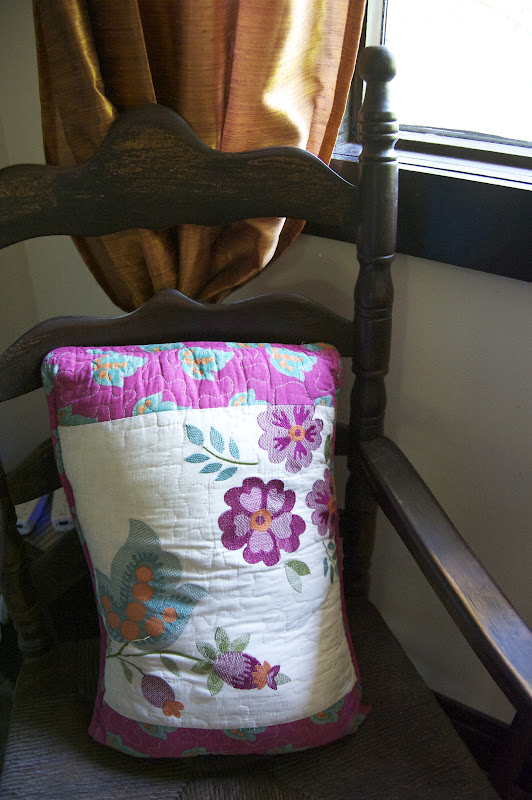
This whole project can be traced back to the moment I walked out of the Marshall's bathroom and noticed a pair of pillows calling my name. Hey Gina, get the hell over here and take us home. 


I loved the color combos, I loved their vintage-y look and I really dug the pattern. And then I looked at the price, the large one was on clearance for $7 and the smaller one was $4.50. I think I screamed out loud. I tend to do that.

So I brought them home and immediately swapped out our previous came-with-the-couch pillows and was smitten. My husband, who can totally suck sometimes, hated them. He mutterred something under his breath about a Grandma and them being too quilty but frankly, I was too giddy over my pillows to even care. They were mine. All mine!

With orange colored curtains everywhere in our family room I knew that I wanted to introduce this teal-ish color somewhere else. But where? As evidenced in the picture below, our television is clearly too big for our little tv stand, so maybe a teal colored media console would be really cool.


Please note that we had several toy baskets on each side of the tv stand to try and cover up the 84 different cords that stuck out of the damn thing. 

But I digress, I oogled over media consoles like these


But they came with a $1000 price tag. So I went hunting and sure enough I scored this amazing dresser at my local thrift store for $80. I take that back, I paid $79.50 since we discovered a half dollar behind a drawer. Who said I wasn't lucky? It's solid wood, has tons of storage and really, really great bones. 

Here it is in our family room.

and yes, it came with a glass top too!


The hardware is pretty rad, huh?!


Now for the makeover part. I sanded the sucker down and added some pops of red paint in case I want to let it show through later on. Still not sure.


Next, I painted it with Benjamin Moore's Slate Teal

That picture does it an injustice, it's a little more teal than how it looks. But still, I wanted more age to it. So I busted out the espresso stain, and did a "paint on rub off" trick with a rag, allowing the stain to catch inside the grooves. I also spray painted the hardware an oil rubbed bronze color.


Finally, I removed the top drawers on each side, painted the insides the same color 
and drilled a hole in the back for cord access. 

And that my friends, is how you create a full media console in UNDER $100!!!


Random sidenote, Ted Talks are streaming on Netflix and we are totally hooked. 

Back to the console. 

Here's a close-up of the stain effect.


See how easy it is to give old furniture a makeover. What do you think? Should I sand down some of the grooves to let the red paint show through? Should I do even more distressing?

He's tougher than he looks, don't let the diaper throw you.


You can find inspiration anywhere. 

Give it a try!


Monday, April 2, 2012

Empty Nest


With one kid on spring break, one kid in school and one kid to young for either--we tried to make the most of our pseudo time off.

We had a a playdate with the Olsens--which is always fun. And by fun I mean the kids run around silly while we moms sit, eat and yell at the kids in between mouthfuls. Just kidding. Sorta. But guess what? Chance has been initiated! All four kids included Chance in their pirate/treehouse/castle tower game. Which is a first. Which also means that Chance is getting old--old enough to make it into "the club." 

Sigh.


But really, this 20 month stage ROCKS MY WORLD because his personality is coming out like crazy.   And although he's not saying too much, he knows exactly what we are saying and is two steps behind his sisters at all times.


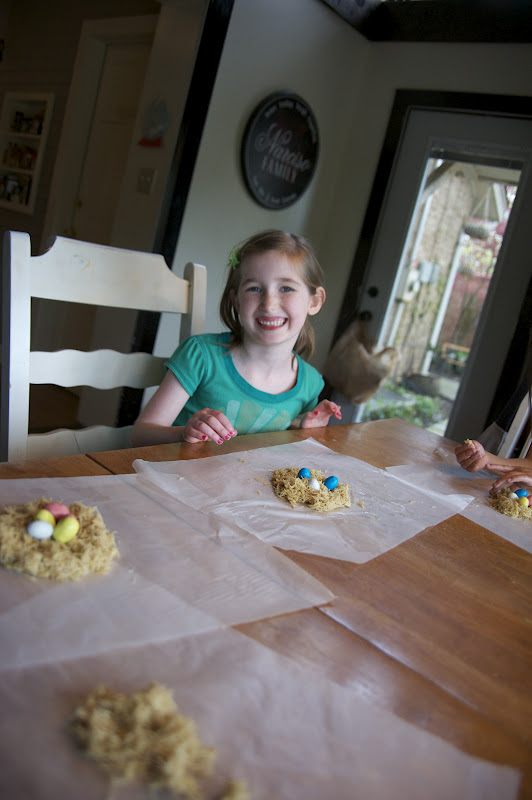
I promised myself I'd get at least one Easter craft in this week. So we created our own little edible nest. Much like a rice krispie treat but with shredded wheat and malted ball eggs. I borrowed this tradition from Kelle Hampton.


We slowly melted a bag of marshmallows and 3/4 of a stick of butter, added the crushed shredded wheat until we figured it was gooey, yummy and moldable. 

And let the kids go to town "forming" their own little nest


And,  yeah it was sticky.


But that's what made it so exciting.


Sweet Lili!


And watch out! 


There's a theif among us. 

I won't name names but he's got red hair.

So, what are you doing for Easter activities? Got any traditions you'd like to share? Post them in the comments, I'm always looking for some new ideas.

Happy Easter-time!


Wednesday, November 30, 2011

It's Beginning to look a lot like Christmas crafts!

Someone really oughta tame my Yuletide fever, it's not even December yet.

Nah, scratch that, I'm gonna wave my festive freak flag and wave it high.

Grab your green pipe cleaners and red cotton poofballs people, it's Christmas Craft Time!

I'm the kind of mom that saves every piece of artwork, every scribbled-on napkin, anything that my kids have created you can bet makes its way into their art bin. I'm a sucker for crafts that can take a small snapshot of where the kids are at on this journey of theirs. Which is why, when I stumbled upon paperbag minibooks, I knew it would be awesome.

The end result is a super easy, totally adorable Christmas minibook made out of paper lunch bags and some Christmas crafts.


To make one minibook all you need is 2 paper lunch bags, Christmas embellishments (stickers, decals, stamps and festive ribbons) photos, paint, markers and some modge podge to seal all of it. In fact, I made a point to save all the Holiday cards we received last year and repurposed them for this craft. You can get so many cute labels and embellishments from leftover cards!

To make the book structure, I followed all the instructions from this website. Next I gathered some of our best Christmas photos, shrunk them to about 1-2 inches and printed them out. I didn't even need to print on glossy photo paper because you'll ultimately add a layer of glossy Mod Podge, so it didn't matter.

Then we proceeded to make a huge mess all over the table as we cut the pictures and stickers and began gluing all over the pages.


I ended up having to do this project in stages, mainly because I don't have that much patience. 
Did you see that mess?

 Sooooo, after a short sanity break, we painted around the pictures.


The final stage was having the girls write down what the pictures made them feel. 


I adore that Bella wrote comfy. See that above picture with the sweaters? In that moment they were singing the Old Navy jingle "I love my comfy sweaters" from 2 seasons ago :) 


Since there are two bags for each book, there are 2 little pockets that are perfect for a little surprise. Here I have a little string with the letters J-O-Y taped on the inside that can get tucked back in. Cute huh? You could put anything in there, a little note, another picture. So many possibilities. 


For added durability I painted glossy ModPodge all over the pages. They are perfect coffee table books for this season and for many more to come!


Happy Holidays!


Saturday, April 3, 2010

Eggstra! Eggstra! Read all about it! Mom loses mo-jo and tots take over!


Doesn't the smell of eggs and vinegar make you wanna ralph? Yeah, well, when you're a mom there's just some things you gotta suck up.

Happy Easter!

C'mon on, Easter wouldn't be complete without
dying some hard boiled heuvos, right?


It was the best 8 minutes ever! I carefully eyed the clock since Mia was this close to chucking those rather full cups of DYE across the room.
In case you didn't know, she likes to throw things.

Lovely.


Insert about 10 "ah-ah-ah's, ooh carrreeful, waaaatch out" from my
delicate-little-peach-of-a-mouth!


Busted!


Yeah, I'm sure she swallowed a few shell pieces before
I could get to her in time to peel it.
It happens.

Happy Easter everyone!

LinkWithin

Related Posts with Thumbnails