Showing posts with label repurposing. Show all posts

Monday, February 25, 2013

My DIY Fancy French China Cabinet


That quarterly itch to repurpose a piece of furniture struck again and I'm excited to share my newest project with you. From the moment we painted our dining room the Ralph Lauren terracotta suede paint I knew that a large blue china cabinet would provide such a strong contrast against the wall.

I began scouring the local area thrift stores. If you're looking for furniture to give a second life to I'd suggest hitting up some of the religious based thrift stores. I've NEVER had any luck at our local Goodwill, in fact, I no longer even check it out. We have several Christian based thrift stores in the area that always have great furniture to choose from.

So the hunt was on and sure enough I discovered this little gem for $95!!!!


What I instantly noticed about this piece were the structured lines, the beautiful hardware, the glass shelves and the wood filagrees.


It had everything I wanted, glass shelves to display dishes, cabinets to store my crap, space above to install spotlights and enough raised wood decal to grab the stain effect that I had in mind.


Step 1- Chosing the right paint color. I am notorious for being impatient when it comes to painting a project and usually paint the first color I pick. This time, I did my homework. Since the only lighting source in the room is a chandelier and a whole bunch of natural light, I knew that I had to pick the right blue. I spent $15 on 3 different samples of blues, painted an old piece of wood and let it sit in the room for a couple of days. Testing out the colors in the afternoon with all the sunlight and in the evening with no light was extremely helpful. As you can see I even added the glaze effect so I could see which color would match best.

I chose Behr's Waterscape.

Step 2- Sanding. It seems so much more difficult than it is. I used my electric sander briefly and then realized hand sanding was far more effective in this case. You really only need to sand it down until the finish is gone, enough so that the paint will grab to the wood--trust me, don't go crazy. Taking off too much can be a bad, bad thing.

Step 3- Paint two coats, at least.

Step 4- Glaze. Knowing what type of finish you want is important in choosing the right paint color. I wanted a grayish-brownish finish added to the blue to make it look like an aged French piece. To achieve this I mixed together Martha Stewart's metallic black coffee glaze with a $1 acrylic brown paint from Michaels.


Using a rag, I'd rub the mixed glaze over the furniture and then use a clean cloth to wipe it off, leaving some streaks and a hint of the stain over the blue. Inconsistency is key here.


Make sure to let the glaze really settle into the grooves.


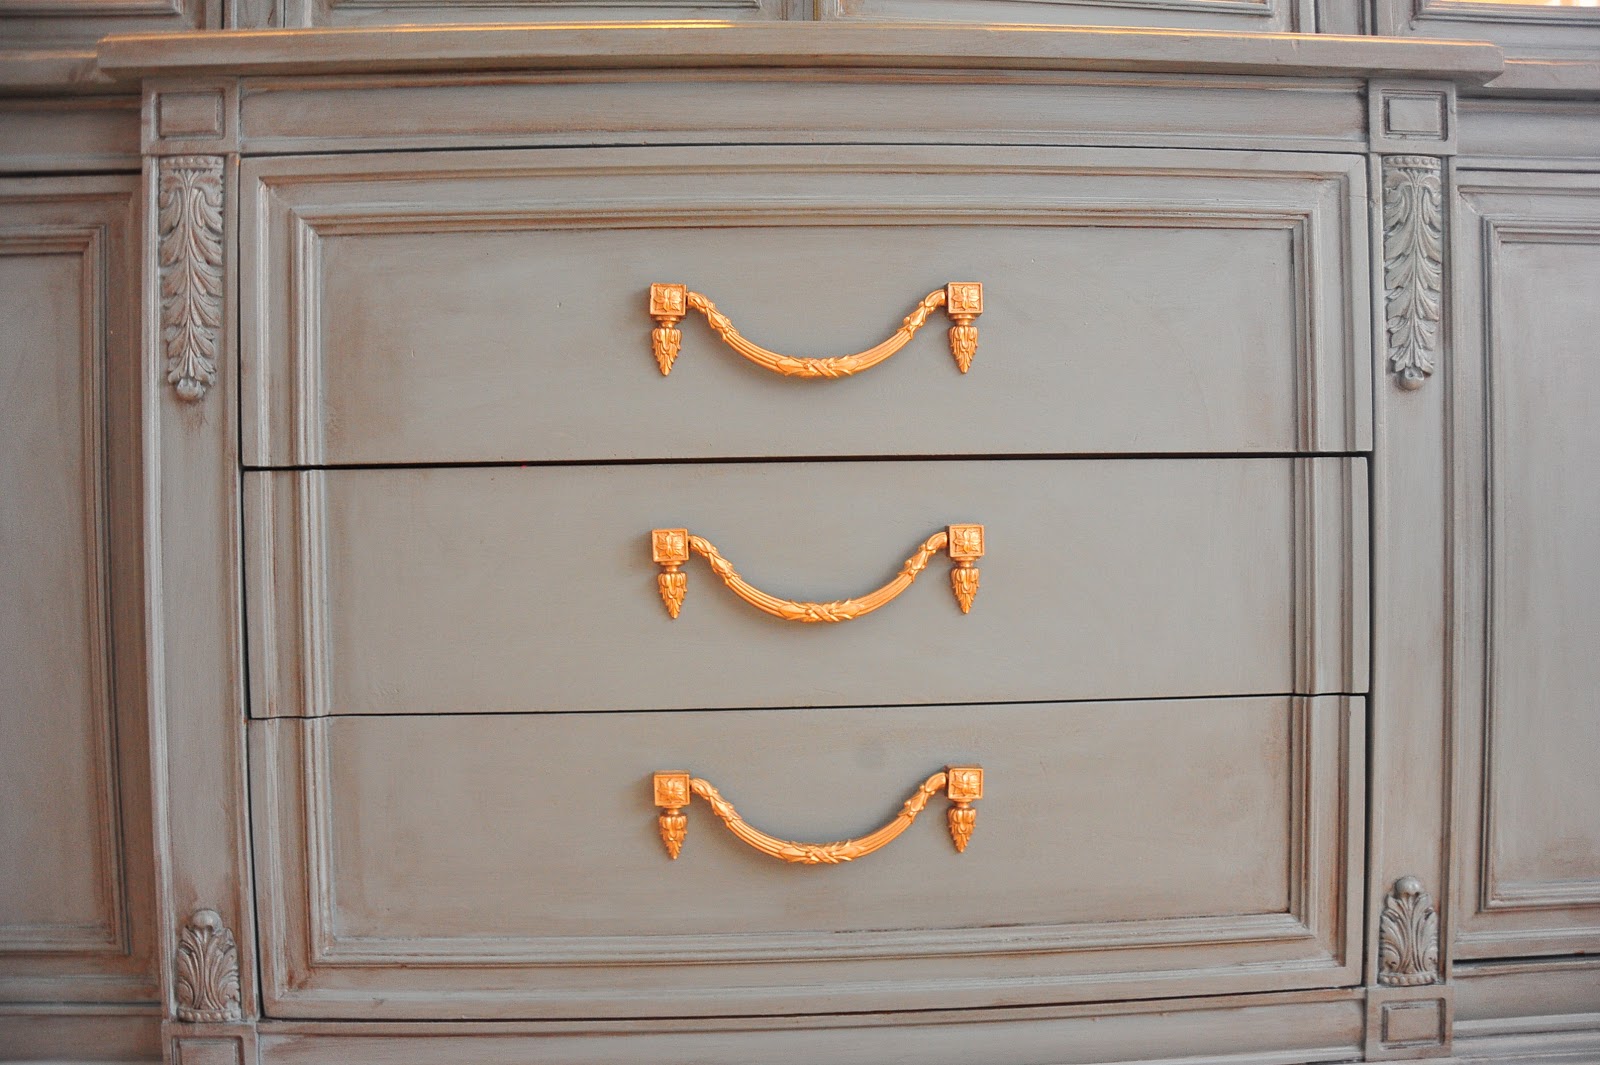
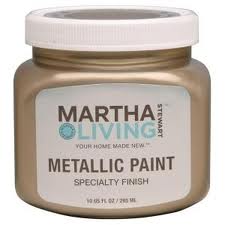
Step 5- Paint Hardware. Keeping in line with a French Provincial style piece, I wanted to fancy up the hardware and chose to repaint it with Martha Stewart's Vintage Gold metallic paint.


I love the contrast of the gold against the grayish-blue paint.


Step 6- Install spotlights. I purchased a $15 set of three under-cabinet lights from Lowe's and Eugene drilled some holes in the top to accomodate them. There was an existing flourescent light but it looked pretty tragic when turned on! This inexpensive update has had a huge impact on the overall look of the piece. We even included a dimmer switch on the lights and can adjust the light depending on the mood of the room.


Before and after


Overall, it turned out pretty great for a total cost of $130, right? I hope this encourages you to shop local and breathe some new life into something old.

It looks much more blue than it really is. 


Tuesday, May 15, 2012

Furniture Botox!

This whole project can be traced back to the moment I walked out of the Marshall's bathroom and noticed a pair of pillows calling my name. Hey Gina, get the hell over here and take us home. 


I loved the color combos, I loved their vintage-y look and I really dug the pattern. And then I looked at the price, the large one was on clearance for $7 and the smaller one was $4.50. I think I screamed out loud. I tend to do that.

So I brought them home and immediately swapped out our previous came-with-the-couch pillows and was smitten. My husband, who can totally suck sometimes, hated them. He mutterred something under his breath about a Grandma and them being too quilty but frankly, I was too giddy over my pillows to even care. They were mine. All mine!

With orange colored curtains everywhere in our family room I knew that I wanted to introduce this teal-ish color somewhere else. But where? As evidenced in the picture below, our television is clearly too big for our little tv stand, so maybe a teal colored media console would be really cool.


Please note that we had several toy baskets on each side of the tv stand to try and cover up the 84 different cords that stuck out of the damn thing. 

But I digress, I oogled over media consoles like these


But they came with a $1000 price tag. So I went hunting and sure enough I scored this amazing dresser at my local thrift store for $80. I take that back, I paid $79.50 since we discovered a half dollar behind a drawer. Who said I wasn't lucky? It's solid wood, has tons of storage and really, really great bones. 

Here it is in our family room.

and yes, it came with a glass top too!


The hardware is pretty rad, huh?!


Now for the makeover part. I sanded the sucker down and added some pops of red paint in case I want to let it show through later on. Still not sure.


Next, I painted it with Benjamin Moore's Slate Teal

That picture does it an injustice, it's a little more teal than how it looks. But still, I wanted more age to it. So I busted out the espresso stain, and did a "paint on rub off" trick with a rag, allowing the stain to catch inside the grooves. I also spray painted the hardware an oil rubbed bronze color.


Finally, I removed the top drawers on each side, painted the insides the same color 
and drilled a hole in the back for cord access. 

And that my friends, is how you create a full media console in UNDER $100!!!


Random sidenote, Ted Talks are streaming on Netflix and we are totally hooked. 

Back to the console. 

Here's a close-up of the stain effect.


See how easy it is to give old furniture a makeover. What do you think? Should I sand down some of the grooves to let the red paint show through? Should I do even more distressing?

He's tougher than he looks, don't let the diaper throw you.


You can find inspiration anywhere. 

Give it a try!


LinkWithin

Related Posts with Thumbnails